[ WAA Home | ProjeX Home | Download ProjeX | Help using ProjeX | ProjeX FAQ | About WAA]
Adding Rows and Columns to a ProjeX sheet
ProjeX is very sensitive to where the task listing is on the Excel sheet and the column order of the tasks, dates and completions. It keeps track of where everything is on each sheet by storing an origin. This origin is the first cell on the sheet that will have a date label for the plot axis.
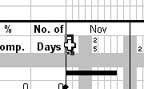
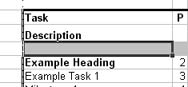
The ProjeX origin is the cell to the right of 'Days'
If you add or remove rows or columns using the 'Display Properties' dialog then ProjeX adjusts the sheets origin so it can keep track of the columns with information it needs. If rows or columns are manually entered using Excel's standard options then ProjeX loses track of where the origin is and the dialog below used to appear.
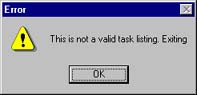
From version 97.1.24 on ProjeX has got a bit more understanding! Now, when it get confused about where the origin is the following dialog appears:
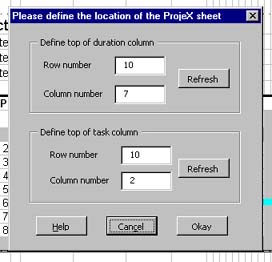
The cell actively selected on the ProjeX sheet will be row 10, column 7 which is ProjeX's default position for the grayed out cell just above the top of the duration column if you change the row number by one and either hit the Refresh button or click on the column text box the selected cell on the sheet will shift to reflect the new coordinates. Adjust these parameters until the cell just above the first duration is selected. The same needs to then be done for the tasks, selecting the grayed out cell above the first task. This should give:
| Correct duration | Correct task |
 |
 |
When finished, press the Okay button and ProjeX will set the origin to its new value, save the result and then continue with what ever you requested.